Image Framing with frame_image
This section demonstrates how to use the frame_image function to add a decorative frame around both grayscale and RGB images. The frame can be applied inside or outside the image, with customizable border size and color.
The function takes three main arguments for manipulation:
h_borderandw_borderfor the frame’s size,insideto decide if the frame is inside or outside, andcolor, which can be a grayscale value (0–255) or an RGB tuple for the frame’s color.
For full details on the function and its parameters, please refer to function docstring under API reference.
We will guide you through the usage and functionality of the frame_image function in various scenarios. Let’s get started!
Importing Necessary Libraries
First, we will need to import the necessary libraries and load a grayscale and color (RGB) image to manipulate. We will use matplotlib to display images and numpy for array manipulations.
import numpy as np
import matplotlib.pyplot as plt
from skimage import data
from sharpedge import frame_image
Matplotlib is building the font cache; this may take a moment.
Preparing Your Image
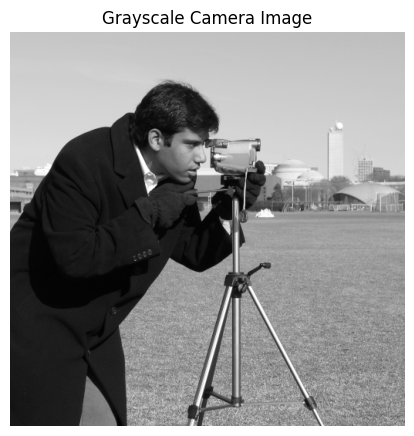
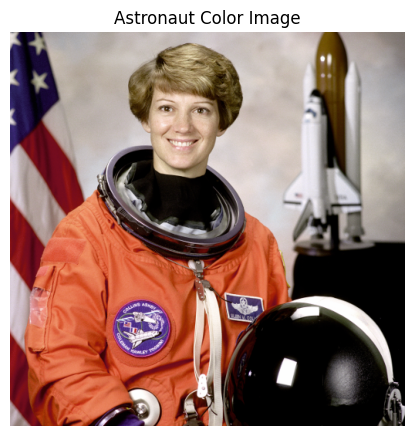
We’ll define the sample images from skimage library. The grayscale image used is the camera image, and the RGB image used is the astronaut image.
Example 1: Grayscale Image
# Load the camera grayscale image from scikit-image
grayscale_img = data.camera()

# Display the image
figsize_scale = 0.01
plt.figure(figsize=(figsize_scale * grayscale_img.shape[1],
                    figsize_scale * grayscale_img.shape[0]))
plt.imshow(grayscale_img, cmap='gray')
plt.title("Grayscale Camera Image")
plt.axis('off')
plt.show()
# Display shape and exact numpy array
print(f'Camera man gray image in 2D: {np.shape(grayscale_img)}')
print(grayscale_img)
Camera man gray image in 2D: (512, 512)
[[200 200 200 ... 189 190 190]
 [200 199 199 ... 190 190 190]
 [199 199 199 ... 190 190 190]
 ...
 [ 25  25  27 ... 139 122 147]
 [ 25  25  26 ... 158 141 168]
 [ 25  25  27 ... 151 152 149]]
Example 2: RGB Image
# Load the astronaut color image from scikit-image
rgb_img = data.astronaut()

# Display the image
figsize_scale = 0.01
plt.figure(figsize=(figsize_scale * rgb_img.shape[1],
                    figsize_scale * rgb_img.shape[0]))
plt.imshow(rgb_img)
plt.title("Astronaut Color Image")
plt.axis('off')
plt.show()
# Display shape and exact numpy array
print(f'Astronaut color image in 3D: {np.shape(rgb_img)}')
print(f"First 3 rows and 3 columns (RGB values) of the astronaut color image:\n{rgb_img[:3, :3]}")
Astronaut color image in 3D: (512, 512, 3)
First 3 rows and 3 columns (RGB values) of the astronaut color image:
[[[154 147 151]
  [109 103 124]
  [ 63  58 102]]

 [[177 171 171]
  [144 141 143]
  [113 114 124]]

 [[201 194 193]
  [182 178 175]
  [168 165 164]]]
Applying the frame_image Function
We can now apply the frame_image function to add a border around the grayscale and RGB images. You can customize the border size and color.
Add a Border Inside the Grayscale Image
Let’s add a border inside the grayscale image, keeping the size of the image the same. We’ll use a gray border for this example.
# Add an inside border to the grayscale image
framed_grayscale_img = frame_image(grayscale_img, inside=True, color=128)

figsize_scale = 0.01
plt.figure(figsize=(figsize_scale * framed_grayscale_img.shape[1],
                    figsize_scale * framed_grayscale_img.shape[0]))
plt.imshow(framed_grayscale_img, cmap='gray')
plt.title('Framed Grayscale Image (Inside Border)')
plt.axis('off')
plt.show()
print(f'With inside borders, height and width of the image remain the same to the original: {np.shape(framed_grayscale_img)[0:2]}')
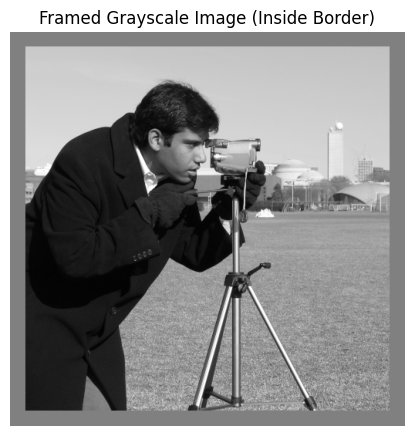
With inside borders, height and width of the image remain the same to the original: (512, 512)
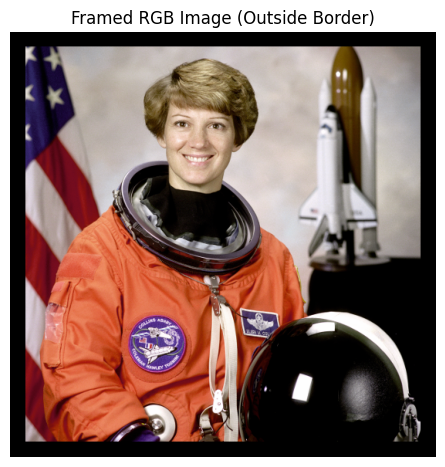
Add a Border Outside the RGB Image
Next, let’s add a border outside the RGB image, which will increase the image size. We’ll use a black border for this example.
# Add an outside border to the RGB image
framed_rgb_img = frame_image(rgb_img, inside=False, color=0)

figsize_scale = 0.01
plt.figure(figsize=(figsize_scale * framed_rgb_img.shape[1],
                    figsize_scale * framed_rgb_img.shape[0]))
plt.imshow(framed_rgb_img)
plt.title('Framed RGB Image (Outside Border)')
plt.axis('off')
plt.show
print(f'With outside borders, height and width of the framed image increase by 2 times border to the original: {np.shape(framed_rgb_img)[0:2]}')
With outside borders, height and width of the framed image increase by 2 times border to the original: (552, 552)
Customizing Border Size
You can easily adjust the size of the border by changing the h_border and w_border parameters. Here are a few examples:
Example 1: Thicker Border Inside the Grayscale Image
In this example, we use a thicker border (100 pixels) inside the grayscale image.
# Add a thicker inside border to the grayscale image
framed_grayscale_in_thick = frame_image(grayscale_img, h_border=100, w_border=100, inside=True, color=128)

figsize_scale = 0.01
plt.figure(figsize=(figsize_scale * framed_grayscale_in_thick.shape[1],
                    figsize_scale * framed_grayscale_in_thick.shape[0]))
plt.imshow(framed_grayscale_in_thick, cmap='gray')
plt.title('Grayscale Image with Thicker Inside Border')
plt.axis('off')
plt.show()
print(f'Height and width of the framed image: {np.shape(framed_grayscale_in_thick)[0:2]}')
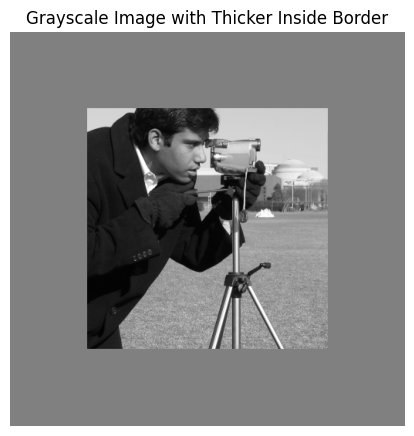
Height and width of the framed image: (512, 512)
Example 2: Larger Outside Border for the RGB Image
In this example, we use a larger border (200 pixels) outside the RGB image.
# Add a larger outside border to the RGB image
framed_rgb_out_thick = frame_image(rgb_img, h_border=200, w_border=200, inside=False, color=0)

figsize_scale = 0.01
plt.figure(figsize=(figsize_scale * framed_rgb_out_thick.shape[1],
                    figsize_scale * framed_rgb_out_thick.shape[0]))
plt.imshow(framed_rgb_out_thick)
plt.title('RGB Image with Larger Outside Border')
plt.axis('off')
plt.show()
print(f'Height and width of the framed image: {np.shape(framed_rgb_out_thick)[0:2]}')
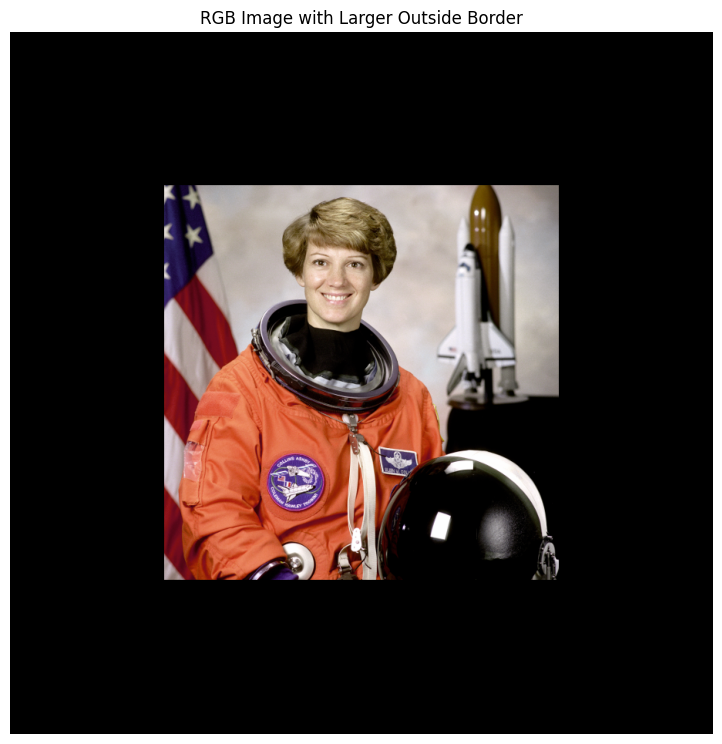
Height and width of the framed image: (912, 912)
Customizing Border Color
You can also customize the color of the border from any grayscale shade or custom color. Below are a few examples:
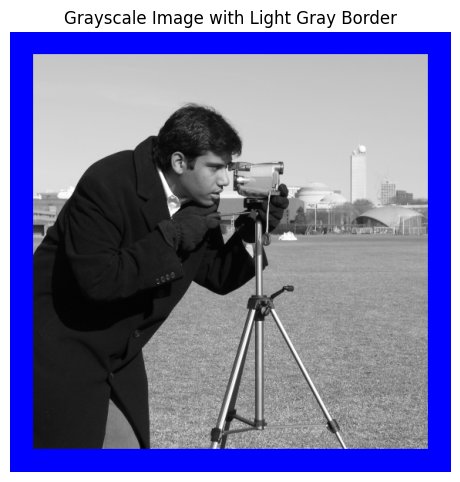
Example 1: Custom Color Border for the Grayscale Image
In this example, we add a blue border to the grayscale image with a border size of 30 pixels.
# Add a grayscale border (light gray) to the grayscale image
framed_grayscale_img_gray = frame_image(grayscale_img, h_border=30, w_border=30, inside=False, color=(0, 0, 255))

figsize_scale = 0.01
plt.figure(figsize=(figsize_scale * framed_grayscale_img_gray.shape[1],
                    figsize_scale * framed_grayscale_img_gray.shape[0]))
plt.imshow(framed_grayscale_img_gray, cmap='gray')
plt.title('Grayscale Image with Light Gray Border')
plt.axis('off')
plt.show()
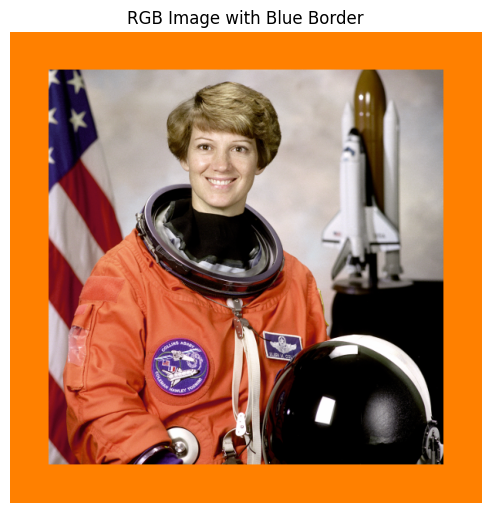
Example 2: Custom RGB Border Color
In this example, we add a orange border to the RGB image with a border size of 50 pixels.
# Add a custom blue border to the RGB image
framed_rgb_img_blue = frame_image(rgb_img, h_border=50, w_border=50, inside=False, color=[255, 128, 0])

figsize_scale = 0.01
plt.figure(figsize=(figsize_scale * framed_rgb_img_blue.shape[1],
                    figsize_scale * framed_rgb_img_blue.shape[0]))
plt.imshow(framed_rgb_img_blue)
plt.title('RGB Image with Blue Border')
plt.axis('off')
plt.show()
Conclusion
In this tutorial, we have explored how to use the frame_image function to add decorative frames to grayscale and RGB images. We demonstrated how to customize the border size, color, and where the border is applied (inside or outside the image).
Feel free to experiment with different images and border configurations to create visually appealing effects!